As an Amazon Associate, we earn from qualifying purchases. Some links may be affiliate links at no extra cost to you. Although our opinions are based on curated research, we haven't used these products. Articles generated with AI.

Can I Replace A Car Bumper Myself?
We can replace our car bumper ourselves with the right tools and prep. It starts with unfolding the new bumper and cleaning the area before removal. We just need to identify and remove fasteners carefully, ensuring we take our time. Once the old bumper is off, aligning and installing the new one is straightforward. Plus, it’s a great way to save some cash and feel accomplished. Curious about the process? Let’s break it down further!
Key Takeaways
- Yes, you can replace a car bumper yourself with the right tools and materials, such as socket wrenches and plastic trim removal tools.
- Preparation is key: clean, sand, and let the new bumper regain shape before installation for a seamless fit.
- Follow manufacturer instructions closely to avoid common fitment issues, and use a clips kit for simpler reinstallation.
- Ensure safety by wearing gloves and goggles during the process to protect yourself.
- Don’t hesitate to ask for help if you face challenges to ensure proper installation and a polished look.
Preparing for Bumper Replacement
You may be interested


When it comes to preparing for a bumper replacement, we’ve got to start on the right foot—or should we say the right bumper? First, let’s get that new bumper cover unfolded properly. We can enjoy some natural sunlight by placing it on a soft surface, allowing it to regain its shape for 1 to 4 hours. If sunshine isn’t in the forecast, a heat gun or blow dryer will do wonders.
Next, we must clean and sand the bumpers materials thoroughly for ideal adhesion. Don’t forget the masking tape to protect adjacent areas! After prepping our workspace, we’ll be ready for a successful installation. The process will be more efficient with user-friendly features that simplify handling.
Takeaway: Proper preparation techniques guarantee our new bumper fits seamlessly and looks great!
Removing the Old Bumper

Removing the old bumper can feel like a bit of a puzzle, especially after we’ve prepped everything for the new one. First, let’s identify our fastener types—plastic clips, screws, and bolts, all hiding in the wheel wells and beneath the bumper. We’ll need some elbow grease and a few tools, like screwdrivers and socket wrenches.
Before we get started, steering the wheels to one side helps us access those tricky clips. As we detach the bumper, remember to gently wiggle it to free those plastic locking tabs without breaking them. And let’s not forget to carefully disconnect any wiring to avoid surprises. Keeping things organized will make reinstallation a breeze! Additionally, having a comprehensive clips kit on hand can simplify the process by providing all the necessary fasteners for a secure attachment.
Takeaway: Patience is key; let’s work together!
Installing the Replacement Bumper

Installing a replacement bumper can feel like a rewarding step in rejuvenating our vehicle, especially after the hard work of removing the old one. We’ll start by placing the bumper carefully on the vehicle frame, ensuring bumper alignment with the mounting points. Pay attention to those side tabs near the headlamps; they need to slot in perfectly.
Next, we’ll insert alignment nubs into their designated holes to stabilize everything. With gentle pressure, let’s seat the bumper flush with the body panels before threading bolts through the mounting holes. Remember to start all bolts loosely for fitting adjustments, then tighten them securely.
Finally, let’s double-check everything is snug and clear around the hood, headlights, and fenders. High-quality materials ensure the durability of your new bumper, providing long-lasting protection for your vehicle. We’re almost there!
Tools and Materials Needed

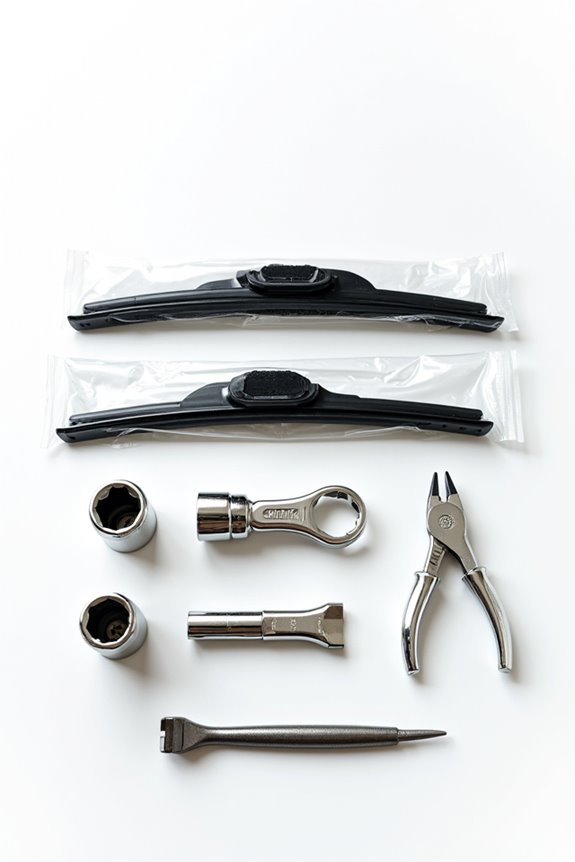
Gathering the right tools and materials can make replacing a car bumper feel like a breeze. Here’s our essential tool selection: socket wrenches, screwdrivers, plastic trim removal tools, and a torque wrench will help us secure everything perfectly. We might also need a jack and stands for better access.
As for material types, don’t forget a replacement bumper that matches our vehicle’s make and year, new fasteners, and likely some adhesive promoter. To guarantee that our painted surface looks great, we’ll need primer, paint, and a clear coat. Finally, safety gear like gloves and goggles is a must to keep us protected while we work. Furthermore, using high-quality materials for the bumper can ensure long-lasting performance and durability.
Takeaway:
Having these tools and materials at hand can make our bumper replacement project much smoother!
Common Challenges and Solutions

When tackling the challenge of replacing a car bumper, it’s not uncommon to run into a few bumps along the way.
Fitment Issues
Aftermarket bumpers can cause head-scratching fitment issues, like misaligned gaps that scream “DIY project.” Before installing, let’s inspect everything closely—minor adjustments can work wonders.
Paint Matching
Then there’s the tricky business of paint matching. Achieving that perfect blend can feel like hunting for a needle in a haystack, especially since textures differ. We’ll want to prep surfaces well to guarantee a seamless finish. Additionally, ensure that any replacement parts, such as a high-quality catalytic converter, comply with emissions standards to maintain vehicle efficiency.
Takeaway
Stay patient, reference manufacturer instructions, and don’t hesitate to reach out for help when we really need it. Remember, it’s about making our ride look sharp and staying safe!
DIY Vs Professional Replacement
Replacing a car bumper isn’t just about swapping out damaged parts; it’s also a decision point where we weigh our options between DIY installations and professional replacements.
When we look at cost comparison, DIY might save us labor fees, but we could end up spending on tools we don’t have. Professionals often use OEM parts, which have a higher upfront cost but guarantee quality.
In terms of quality differences, trained technicians guarantee precise fitment using specialized tools, while our DIY efforts may fall short, possibly leading to misalignment. With professional work, there’s often a warranty that adds peace of mind we might not get with DIY. Additionally, the use of high-quality materials in professional installations can enhance durability and long-term performance.
So, considering budget, quality, and our comfort level with each approach is key.
Takeaway: Choose wisely based on your skills, materials, and costs.
Safety Considerations During Replacement
It’s vital to prioritize safety during a bumper replacement, as overlooking critical aspects can jeopardize our vehicle’s structural integrity and overall function. We must adhere to established safety protocols, ensuring we assess any underlying damage, especially since even small cracks can affect performance. Remember, misalignment during installation can greatly raise collision risk later on.
Key Safety Considerations:
- Use the right tools for inspection and installation.
- Follow manufacturer instructions for repair materials.
- Always disconnect the battery to avoid surprises.
Takeaway: By being thorough and mindful, we’re not just fixing a bumper; we’re protecting ourselves and our loved ones. So, let’s take a moment to appreciate each step, making it safer for everyone on the road!
Frequently Asked Questions
What Types of Bumpers Can Be Replaced DIY?
When it comes to DIY bumper replacement types, we can tackle plastic and standard designs with ease. With the right DIY tools, we can transform our vehicles, ensuring every project feels achievable and rewarding.
How Long Does a Bumper Replacement Typically Take?
Bumper replacements usually take 1 to 3 hours. For DIY projects, we’ll need basic tools and some patience. Let’s remember to follow bumper installation tips for a smoother process and better results together!
Can I Drive My Car Without a Bumper Temporarily?
We can’t drive our car without a bumper, even temporarily, as it compromises bumper safety and legality. It’s best to sort repairs quickly to guarantee we’re safe on the road and in compliance.
Is a Damaged Bumper Repairable Instead of Replacement?
Absolutely, a damaged bumper’s often repairable instead of replaceable! We’ve found that using effective bumper repair techniques not only saves money but also keeps our vehicles looking great while being cost-effective and environmentally friendly.
Will Replacing My Bumper Affect My Car’s Warranty?
Replacing your bumper might affect your car’s warranty coverage if you use aftermarket parts or don’t follow manufacturer guidelines. Let’s guarantee we stick to OEM parts to keep everything intact and worry-free moving forward.