As an Amazon Associate, we earn from qualifying purchases. Some links may be affiliate links at no extra cost to you. Although our opinions are based on curated research, we haven't used these products. Articles generated with AI.

How Do I Use An OBD2 Scanner For Diagnostics?
Using an OBD2 scanner for diagnostics is a simple yet effective way to monitor our vehicle’s health. First, we locate the OBD2 port, usually beneath the dashboard near the driver’s pedals. Next, we connect the scanner while the car’s off, turning the ignition to ON to power it. From there, we navigate the menu to read codes, interpreting those DTCs reveals insights about our ride. Stick around, and you’ll discover more about advanced functions that make diagnostics even easier!
Key Takeaways
- Locate the OBD2 port beneath the dashboard or in the driver’s footwell area for easy access before diagnostics.
- Ensure the car is off when plugging in the scanner, then turn the ignition to the ON position.
- Navigate the scanner’s menu using arrow buttons to access options like Read Codes and Live Data.
- Interpret the Diagnostic Trouble Codes (DTCs) that appear, referring to manuals for identifying issues within vehicle systems.
- Utilize additional scanner functions such as live data monitoring and resetting service lights for enhanced diagnostics and maintenance decisions.
Locating the OBD2 Port
You may be interested

When it comes to finding the OBD2 port, we can usually rely on some common locations that make it a bit easier for us. Typically, it’s hiding beneath the dashboard, right within reach of the driver’s seat, often under or nearby the steering wheel. Most of the time, you’ll find it in the driver’s footwell area, near the pedals.
For those curious about port accessibility, know that it’s designed to allow easy access without tools. Pulling off a cover may be necessary, but it’s usually straightforward. Remember, location can vary based on vehicle compatibility, especially among different makes and models. Don’t fret; if you’re ever in doubt, your owner’s manual can be a trusty sidekick in locating that elusive port! Additionally, most OBD-II ports are compliant with OBDII protocols, ensuring they connect effortlessly with diagnostic tools.
Connecting the OBD2 Scanner
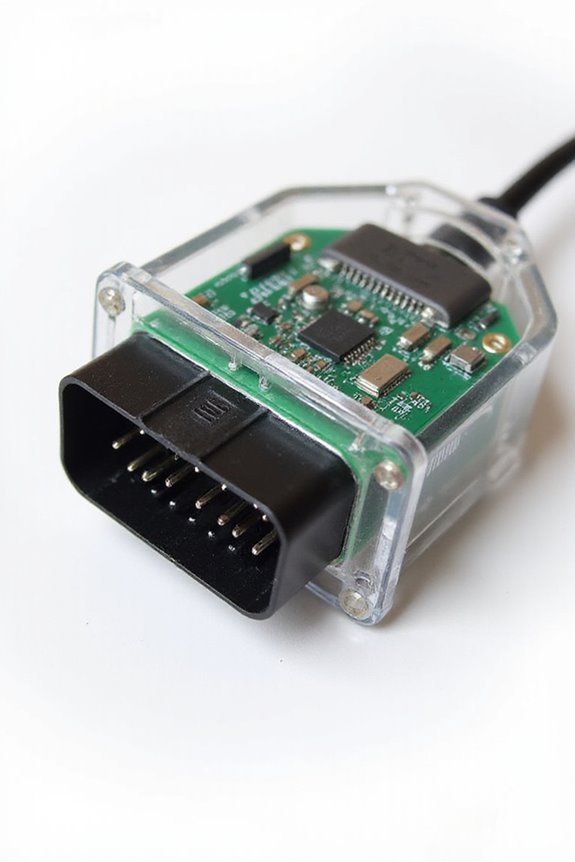
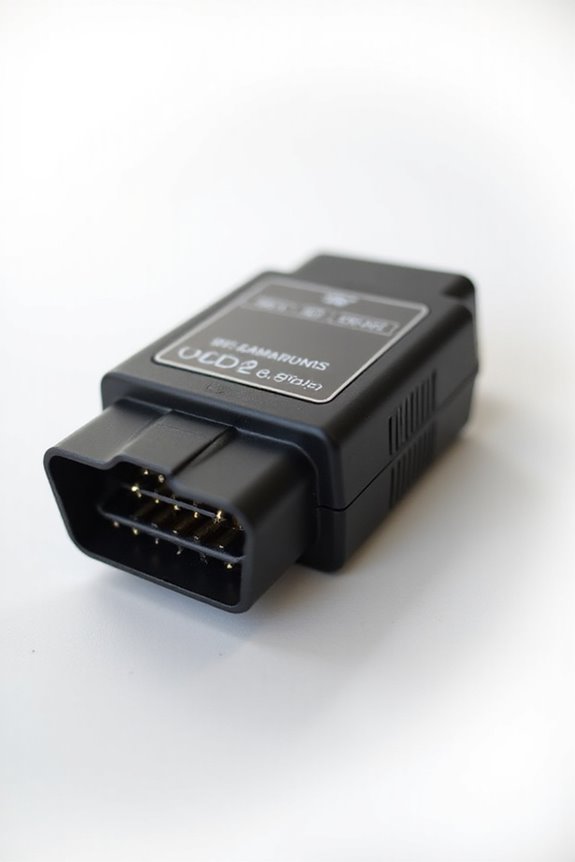
Having located the OBD2 port, it’s time to connect the scanner and get ready for some vehicle diagnostics. First, let’s make certain the car’s off before we plug in. Once we’ve done that, turn the ignition to the ON position without starting the engine. This helps our scanner get the power it needs.
When we insert the scanner’s 16-pin connector, let’s make sure it fits correctly—there’s only one way in, folks! If it’s loose, we might face some connection troubleshooting later. If we’ve got a wireless model, don’t forget to check scanner compatibility with our device. We can also check for updates in the app before diving into diagnostics. Additionally, ensure that you are using a scanner that supports various vehicle models for optimal diagnostics.
Takeaway: A solid connection is key for accurate diagnostics!
Navigating Scanner Menu and Reading Codes

Now that we’re hooked up and ready to go, exploring the scanner menu to read codes becomes our next big adventure. We can navigate using the arrow buttons—just a quick press to scroll through menu options like Read Codes, Live Data, or Freeze Frame. Some scanners even offer useful menu shortcuts to speed up our process!
Remember to follow on-screen prompts carefully to guarantee we select the right functions. If we mess up, no worries—a back button will bring us back any time. A few troubleshooting tips: pay attention to the feedback, like beeps or messages, confirming our selections. Additionally, scanners like the BOSSCOMM IF740 offer a user-friendly design that enhances our overall experience. And with a bit of practice, we’ll feel like OBD2 ninjas in no time!
Takeaway: Familiarize yourself with the layout; it saves time!
Interpreting Diagnostic Trouble Codes (DTCs)
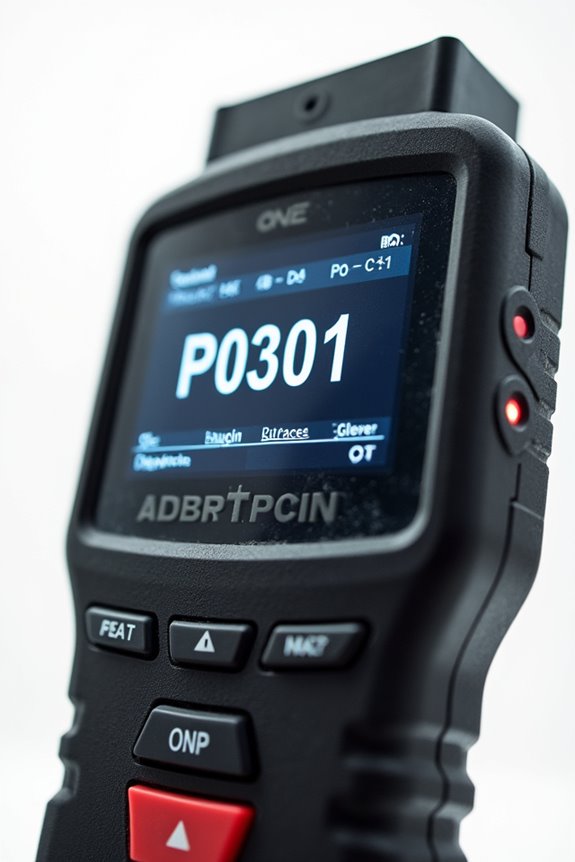
Understanding Diagnostic Trouble Codes, or DTCs, is like cracking a secret code that your vehicle uses to communicate its health status. These five-character codes include categories like Powertrain (P), Body (B), and Chassis (C). Generic codes, indicated by a zero, are standardized across all OBD-II compliant vehicles, while manufacturer-specific codes might reveal quirks unique to your car brand.
Here’s a quick DTC categories overview:
- P Codes: Engine and drivetrain issues
- B Codes: Body components like airbags
- C Codes: Chassis systems
- U Codes: Network communication errors
No need to fret! To diagnose, supplement your DTCs with resources like manufacturer manuals for clearer insights. Additionally, regular inspections can prolong the life of your vehicle’s systems, ensuring that they operate at optimal performance for years to come. Remember, understanding these codes can help us make informed maintenance decisions together.
Additional Scanner Functions

Once we’ve decoded those Diagnostic Trouble Codes (DTCs), it’s time to explore the broader capabilities of our OBD2 scanners. Beyond just reading codes, these devices offer additional scanner functionalities that can really enhance our diagnostic process. For instance, live data monitoring allows us to view real-time engine parameters like RPM, coolant temperature, and even fuel trims. This can provide valuable feedback, especially when diagnosing intermittent issues.
Moreover, we can perform system-specific tests and resets, leading to advanced data analysis that helps us understand vehicle behaviors better. From resetting service lights to logging data over time, these features empower us to make informed maintenance decisions, all while keeping the car running smoothly. Additionally, these scanners can assist in addressing common issues detected by diagnostic tools, such as engine misfires which can complicate vehicle performance.
Takeaway: Embrace these functionalities to access your scanner’s full potential!
Frequently Asked Questions
Can I Use an OBD2 Scanner on Older Vehicles?
We can definitely run into OBD2 compatibility concerns with older vehicles. Scanner age limitations mean many pre-1996 cars won’t work with standard OBD2 tools, so let’s check compatibility before diving in.
What Are the Best OBD2 Scanners for Beginners?
For beginners, we recommend entry-level scanners like the MP69033 and Motopower. They offer simplicity and reliability without Bluetooth compatibility, making our experience straightforward while avoiding unnecessary complications. Let’s keep our diagnostics easy and effective!
How Often Should I Scan My Vehicle?
We might think our cars are invincible, but let’s not kid ourselves. Regular vehicle maintenance means we should scan monthly—it’s like a yearly checkup for our beloved ride. Diagnostic scanner frequency is key to peace of mind!
Will Using an OBD2 Scanner Void My Warranty?
Using an OBD2 scanner won’t void your warranty, as long as we avoid devices that interfere with your car’s systems. Let’s always check warranty terms to guarantee we’re compliant with scanner legality.
Can I Connect Multiple Vehicles to One Scanner?
Yes, we can connect multiple vehicles to one scanner, as long as it supports various vehicle compatibility. By leveraging scanner features like Bluetooth pairing, we can easily switch between car profiles for efficient diagnostics.