As an Amazon Associate, we earn from qualifying purchases. Some links may be affiliate links at no extra cost to you. Although our opinions are based on curated research, we haven't used these products. Articles generated with AI.
How Do I Install A Cold Air Intake For My Car?
Installing a cold air intake is a straightforward process that can boost your car’s performance. First, gather essential tools like screwdrivers and pliers. We’ll remove the old intake by loosening clamps and disconnecting hoses. Next, we’ll fit the new intake tubing, ensuring everything aligns correctly, and secure it tightly. Don’t forget to reattach sensors as needed! Once finished, we’ll inspect everything for leaks and take the car for a spin. Want to know more about benefits and maintenance tips?
Key Takeaways
- Ensure proper tools are gathered, including screwdrivers, pliers, and socket wrenches, before starting the cold air intake installation.
- Remove existing air intake components carefully by loosening clamps, disconnecting hoses, and taking notes for reassembly.
- Install the new intake components, ensuring optimal seating and proper connections using silicone couplers and hose clamps.
- Secure all connections and clamps tightly to avoid leaks, and conduct a visual inspection for integrity and compliance.
- Test the installation by starting the engine and monitoring performance, including throttle response and idle stability during a test drive.
Preparation and Tools Needed
You may be interested


Before we plunge into the world of cold air intakes, let’s take a moment to get ourselves ready—think of it like prepping for a big race! First and foremost, we need to guarantee our vehicle’s parked on a flat surface and cooled down. Safety gear—like gloves and safety glasses—should be on to keep us protected from any debris. Now, let’s talk tool organization.
We’ll want Philips screwdrivers, flat head screwdrivers, and a socket wrench set. Needle nose pliers will help us out, too! If we have zip ties and scissors handy, we’re golden. Laying out our tools and parts makes everything a breeze as we prepare for installation. With our gear and tools in check, we can dive in confidently! Additionally, focusing on material durability quality will ensure our new intake lasts longer and performs optimally.
Takeaway: Safety first, tools organized—then we can start the fun part!
Removing Existing Air Intake Components
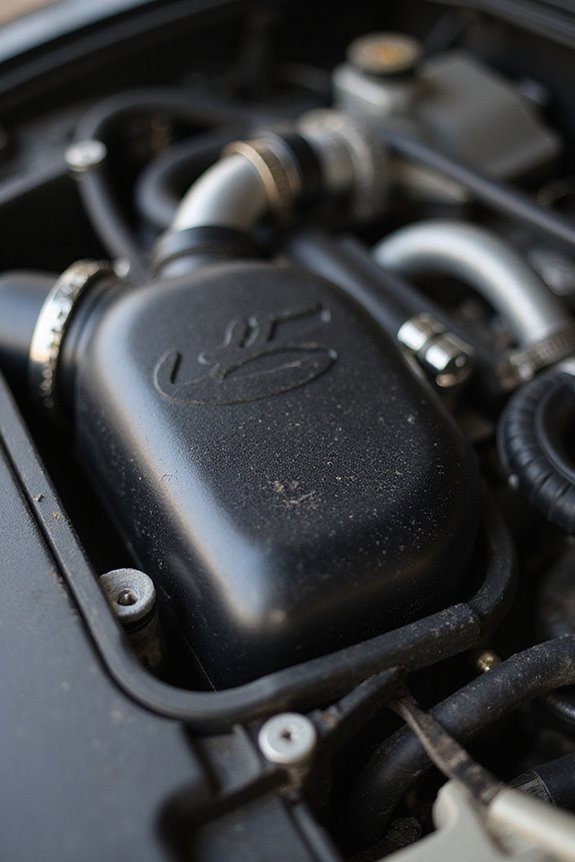
To kick off the removal of the existing air intake components, we’ll first want to gather our tools and get ourselves situated. Grab a flathead screwdriver, some pliers, and a T15 Torx bit for the sensors.
Next, we’ll loosen the clamps holding the intake tubes and disconnect the hoses. Don’t forget to take mental notes—or even photos—of where each component goes. Once that’s done, we can disengage the clips securing the air box and remove any bolts.
Carefully lift the air box out once released, avoiding any prying that might damage the intake system. Having durable materials will help ensure your new components last longer. Keep everything organized on a clean surface, ready for our new parts.
Takeaway: Patience and care guarantee a smooth disassembly!
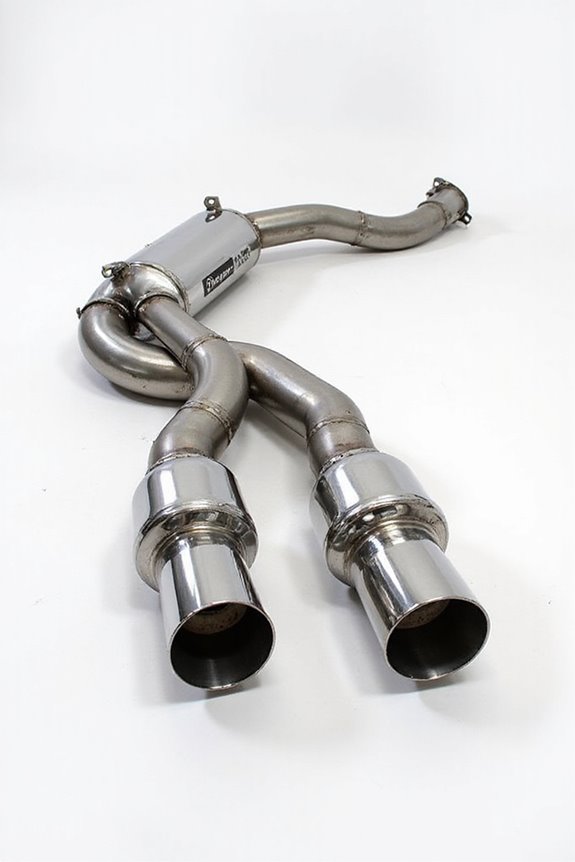
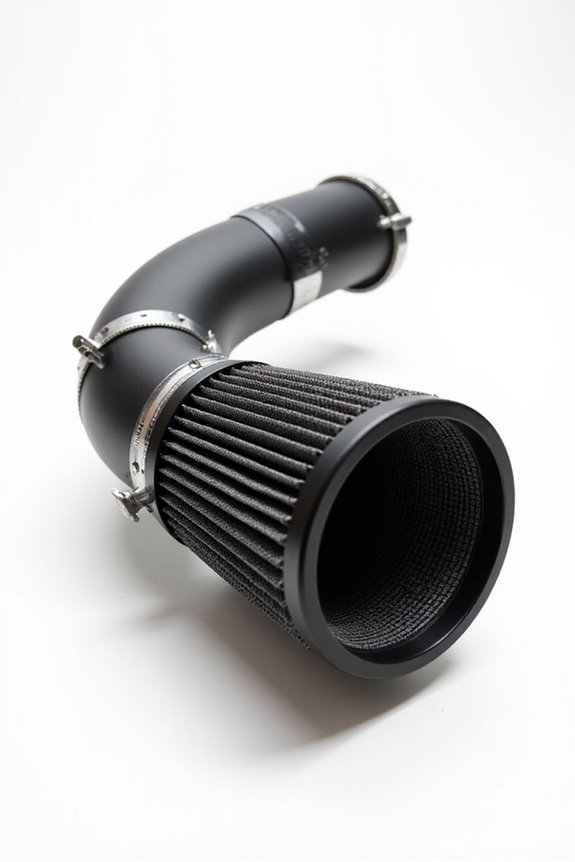
Installing New Intake Components

Now that we’ve successfully removed the old intake components, it’s time to immerse ourselves in installing the new parts that’ll enhance our engine’s performance. First, we’ll fit our intake tubes, ensuring the molded fittings for any breather pipes or sensors are threaded in until they’re seated firmly. Let’s connect the intake pipe to the throttle body with silicone couplers and hose clamps, making sure we tighten them to manufacturer specifications—this’ll help us avoid pesky air leaks.
It’s also essential to pay attention to intake pipe orientation; smooth airflow is key! Finally, we’ll carefully reinstall any sensors, ensuring proper sealing. Remember, if we don’t seal these sensors right, we could compromise our engine’s efficiency. Additionally, ensuring the correct compatibility with vehicle make will optimize performance during this installation. Let’s get to it!
Mounting and Securing Assembly
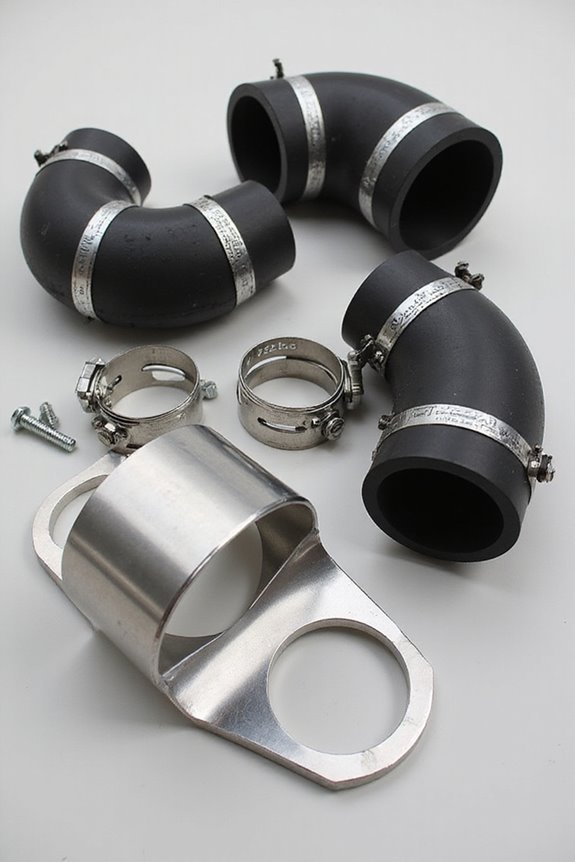
Getting our cold air intake securely mounted is essential for best performance and reliability. First up, we’ll utilize those manufacturer-provided brackets, attaching them loosely for easy bracket adjustment—this way, we can line up the intake tube just right. Let’s make sure these brackets are on solid, metal parts to avoid any pesky vibrations.
Next, we’ll secure our intake tube connections with those silicone couplers, paying close attention to clamp positioning to prevent air leaks. Each joint should feel snug; no one wants a disconnection during a thrilling ride! Additionally, ensuring proper emissions compliance is vital to prevent any legal issues down the road.
Finally, let’s not forget to double-check all our hardware is tight. A little bit of precaution now means smooth sailing down the road!
Reconnecting Electrical Components and Sensors

Reconnecting electrical components and sensors can feel a bit like piecing together a puzzle—but don’t worry, we’ll guide you through it. First, let’s locate those sensors you took off—the IAT and MAF ones—inspecting for any damage or corrosion. Cleaning the connectors is key for maintaining connection integrity, so gently remove any grime.
Next, match each sensor with its port, ensuring we don’t mess up their compatibility. When we mount them, let’s avoid kinking the wires and make sure everything is seated snugly. We’ll hear those satisfying clicks when reattaching connectors, confirming they’ve locked in place. Additionally, using connectors built with durability for long-term performance maximizes the lifespan of your installation. Finally, a little dielectric grease can keep corrosion at bay without compromising our efforts. Happy connecting!
Final Inspection and Testing
With all the electrical components and sensors securely reattached, it’s time to give our fresh cold air intake system a thorough once-over before hitting the road. Let’s master the final inspection and testing to guarantee everything’s perfect.
Visual Inspection
- Verify all clamps and connectors are tight.
- Check for cracks or misalignments in the tubing.
- Confirm sensors are seated correctly.
Testing Procedures
- Start the engine and listen for odd sounds—no hissing or whistling allowed!
- Monitor the idle for stability; fluctuations signal issues.
- Take it for a spin to assess throttle response and engine temperature.
Additionally, ensure that you have high-quality parts to achieve optimal performance and longevity of your newly installed cold air intake.
Takeaway
These inspection techniques safeguard our hard work. A bit of diligence here guarantees our car runs smoothly, so let’s hit that road with confidence!
Benefits of a Cold Air Intake
When it comes to enhancing our vehicle’s performance, the benefits of a cold air intake stand out like a beacon of power and efficiency. We can expect a noticeable power gain, typically adding 5 to 15 horsepower, depending on our engine size and intake design. Cooler, denser air leads to improved fuel combustion, making our cars more responsive.
Not only do we enjoy enhanced throttle response, but the increased airflow means quicker engine reactions. Plus, with better combustion efficiency, we can also see potential boosts in fuel economy. And let’s not forget the delightful, throaty sound that comes alive during acceleration!
Takeaway: A cold air intake truly marries power with efficiency, transforming our driving experience for the better.
Common Mistakes to Avoid
Installing a cold air intake can be an exciting project, but it’s all too easy to trip over some common pitfalls that can turn our DIY dreams into a frustrating reality. To help us steer clear of installation errors, let’s cover a few key mistakes.
- Preparation Oversight: We must gather all our tools first and read the manual; skipping these steps can lead to setbacks.
- Mishandling Components: Let’s avoid brute force when detaching the MAF sensor and keep track of any screws or clamps.
- Airflow Calibration: It’s critical to recalibrate after installation to prevent performance issues.
Takeaway: A little foresight can go a long way! By dodging these common mistakes, we can guarantee a smoother installation and enjoy the benefits sooner.
Maintenance Tips for Cold Air Intakes
Regular maintenance is key to keeping our cold air intake systems performing at their best. We should aim to clean or recharge filters every 10,000 to 30,000 miles, depending on their type. During each filter inspection, let’s not forget to look for dirt buildup and missed oil spots; it helps keep our engine running efficiently.
Don’t overlook sensor cleaning, either. Using specialized MAF cleaner can help keep those delicate sensors functioning properly. We also need to check hoses and seals for leaks regularly—tightening connections will keep our airflow ideal.
Takeaway: Schedule filter maintenance alongside oil changes, and keep a log of cleaning dates to secure we stay on track. It’s just one more way to enjoy our rides!
Frequently Asked Questions
Will a Cold Air Intake Void My Vehicle’s Warranty?
A cold air intake won’t automatically void our vehicle’s warranty, but we should understand warranty limitations and manufacturer policies first. Let’s make sure we choose carefully to avoid potential issues down the road.
How Much Horsepower Can I Expect From a Cold Air Intake?
Ready for an exhilarating boost? We can expect a horsepower increase of 5 to 20 hp from a cold air intake, releasing amazing performance benefits that make every drive feel unforgettable. Let’s plunge into the excitement!
Can I Install a Cold Air Intake Without Special Tools?
Yes, we can install a cold air intake without special tools! Just follow our installation tips and take necessary precautions, like hand-tightening bolts carefully. It’s an easy project that brings a nice boost to our ride!
Are There Different Types of Cold Air Intakes Available?
They say variety’s the spice of life! From roto-molded to metal intakes, each cold air intake type offers unique benefits. We can enhance airflow, improve performance, and make our vehicles feel more alive together!
How Does a Cold Air Intake Affect Fuel Economy?
A cold air intake can boost our fuel efficiency improvements and offer performance benefits, particularly under steady driving conditions. Yet, we should remember that individual results may vary due to driving habits and installation quality.